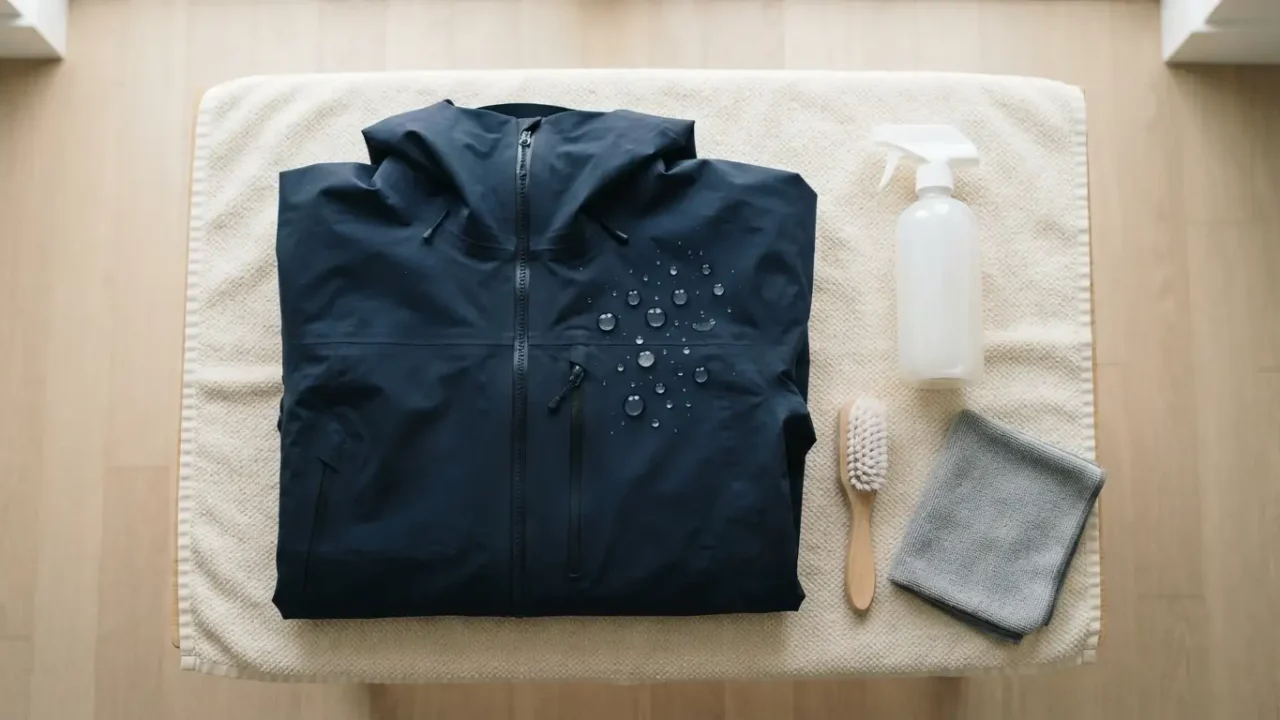
If your once-reliable rain jacket now soaks through the outer fabric within minutes, it isn’t necessarily finished. In many cases the surface water repellent coating has simply worn away, and that’s something you can bring back at home with a few basic supplies and an afternoon. It won’t fix a jacket that has torn or delaminated, but for a coat that’s just stopped shedding water, a proper clean and re-treat often works surprisingly well.
In this guide
- First, Understand What You're Actually Fixing
- Check Whether the Jacket Is Worth Treating
- What You'll Need
- Step One: Clean the Jacket Properly
- Step Two: Try Heat to Revive the Existing Finish
- Step Three: Apply a Water Repellent Treatment
- Step Four: Dry and Set the Finish
- Dealing With Leaking Seams
- Keeping the Finish Working Longer
- A Note on Product Choices
- Final Thoughts
First, Understand What You’re Actually Fixing
Most rain jackets get their weather protection from two things working together: a waterproof membrane or coating inside the fabric, and a water repellent finish on the outside. That outer finish, usually called a durable water repellent (DWR), makes water bead up and roll off. Over time it wears down from dirt, body oils, abrasion, and washing.
When the finish fades, the outer fabric absorbs water and looks dark and soggy, even though the membrane underneath may still be keeping you dry. That’s usually the problem you can fix at home. If you want a clearer picture of how these layers work and what the labels mean, our guide on waterproof vs water-resistant jacket ratings explains it in more detail.
Check Whether the Jacket Is Worth Treating
Before you spend time and money, give the jacket a quick inspection. Look for peeling or flaking on the inside lining, which suggests the waterproof layer is breaking down. Check the seams for lifting tape, and look for tears or worn patches. If the membrane itself has failed, no spray-on treatment will bring it back, and a replacement is the better choice. Our guide on the signs it’s time to replace your outerwear can help you decide.
If the jacket is structurally sound and the main complaint is that water soaks into the outer fabric, it’s a good candidate for re-treating.
What You’ll Need
- A technical gear wash or a mild, fragrance-free detergent suited to waterproof fabrics
- A wash-in or spray-on water repellent treatment designed for outerwear
- A washing machine and, if the care label allows it, a dryer
- A soft brush or cloth for stubborn dirt
- Optional seam sealer if you notice leaks along stitching
Check the care label on your jacket first, because instructions vary by fabric and manufacturer, and always follow the specific directions on whichever treatment product you buy.
Step One: Clean the Jacket Properly
Dirt and body oils block the repellent finish from working, so a thorough clean matters more than most people expect. Close all zippers and fasteners, empty the pockets, and wash the jacket on a gentle cycle using a technical gear wash or a mild detergent. Regular detergents and fabric softeners can leave residue that interferes with water repellency, so it’s best to avoid them.
Run an extra rinse cycle so no soap residue stays in the fabric. Leftover detergent can make the jacket absorb water, which defeats the purpose of the treatment you’re about to apply.
Step Two: Try Heat to Revive the Existing Finish
Sometimes a clean jacket needs nothing more than gentle heat. Many DWR finishes can be partly reactivated by a short tumble in the dryer on low, if the care label permits it. Afterward, sprinkle a little water on the fabric. If it beads up again, you may not need any additional treatment yet.
If the jacket’s label says not to tumble dry, skip this step and move on to re-treating, rather than risking damage to the fabric or its coating.
Step Three: Apply a Water Repellent Treatment
If water still soaks in after cleaning, it’s time to re-treat. There are two main types of product. Spray-on treatments let you apply the product directly to the outer fabric, which suits jackets with a lining or insulation you don’t want to treat. Wash-in treatments go through the washing machine and coat the whole garment, which is simple but better suited to shell jackets without delicate inner layers.
Apply the treatment to a clean jacket, usually while it’s still damp, since damp fabric absorbs the product more evenly. Work in a well-ventilated area when using sprays, keep them away from flames, and follow the instructions on the label closely. Pay extra attention to high-wear areas like the shoulders, sleeves, and hood, where the finish wears off fastest.
Step Four: Dry and Set the Finish
Most treatments need a bit of heat to bond to the fabric, though the exact method depends on the product. Many instructions call for a short tumble dry on low, while others recommend air drying. Follow the directions on your specific product and your jacket’s care label, and let the jacket dry completely before wearing it.
Once dry, test the results by flicking a few drops of water onto the fabric. Water should bead up and roll off rather than darken the surface. If it doesn’t, a second light application may help.
Dealing With Leaking Seams
If the fabric repels water but you still feel dampness along the seams, the seam tape may have lifted or worn. A seam sealer product made for outdoor gear can help patch small problem areas. Clean the area first, apply the sealer as directed, and let it cure fully before using the jacket. Bigger seam failures are harder to fix reliably and may mean the jacket has reached the end of its useful life.
Keeping the Finish Working Longer
Re-treating isn’t a one-time fix. How often you’ll need to repeat it depends on how often and how hard you use the jacket. A few habits can stretch the time between treatments. Wash the jacket with the right products rather than regular detergent, avoid storing it compressed or damp, and give it a gentle brush to remove surface dirt. Our coat care guide covers more of these everyday habits.
It also helps to match the jacket to the conditions you actually face. For a better sense of which materials suit different weather, take a look at our guide to choosing outerwear fabric for different climates.
A Note on Product Choices
Water repellent treatments differ in their chemistry, and some older formulations used compounds that raised environmental concerns, so many newer products advertise fluorine-free or PFC-free formulas. These can perform well for everyday use, though they sometimes need more frequent reapplication than older types. Reading the product label and picking one that fits your priorities is worth the extra minute. For a general background on how these finishes work, this overview of durable water repellent coatings and this explanation of waterproofing are useful references.
Final Thoughts
Waterproofing a jacket at home isn’t complicated, but it does work best when you follow the order: clean thoroughly, try gentle heat, re-treat if needed, and let it dry and set properly. For a jacket that’s still structurally sound, this can bring back months or even years of reliable rain protection at a fraction of the cost of replacing it. And if you’re building a layered system around that jacket, our layering guide for building the perfect outerwear wardrobe shows how it fits in.