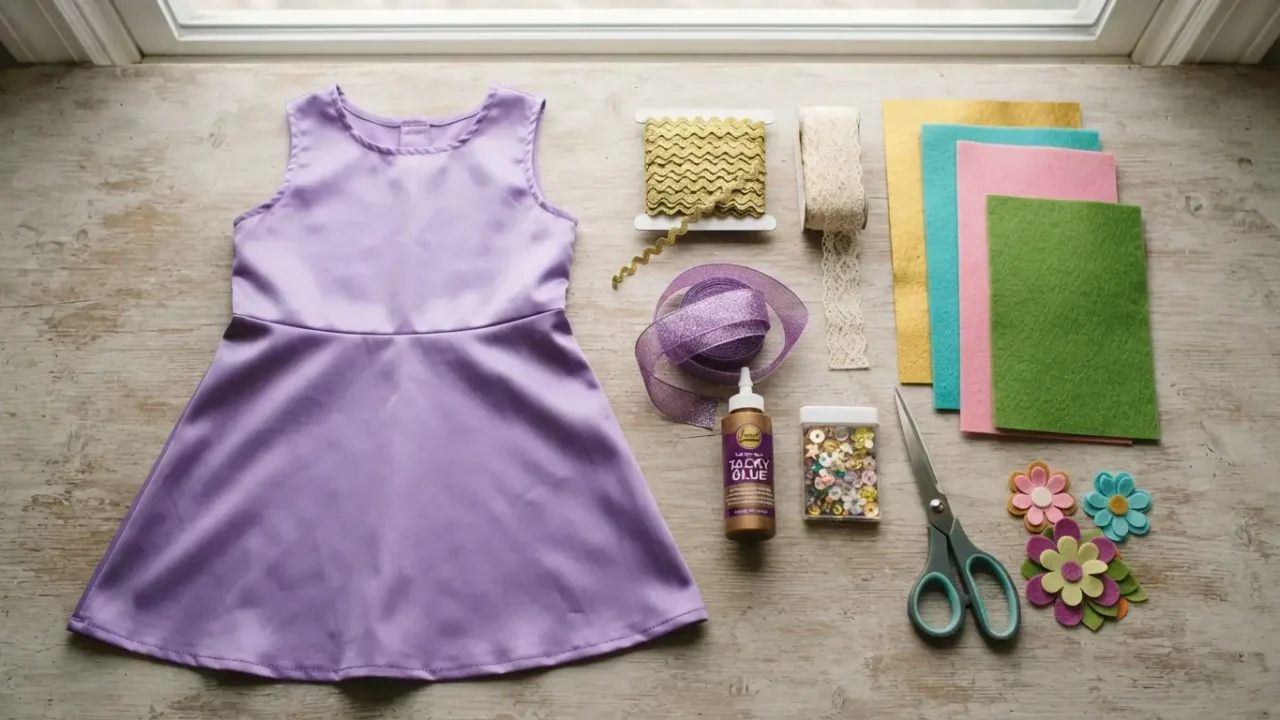
Packaged costumes have a reputation for a reason. The fabric is thin, the fit is generic, and the details are often printed on rather than built in. But a store-bought costume doesn’t have to look like it came straight out of the bag. With a few inexpensive upgrades and a little time, a basic outfit can look surprisingly polished, and you don’t need a sewing machine or a craft room to do it.
In this guide
- Start by Finding the Weakest Part
- Fix the Fit First
- Steam Away the Packaged Look
- Add Texture With Trim and Details
- Swap Cheap Accessories for Real Ones
- Upgrade the Prop
- Use Makeup, Hair, and Footwear
- Add Light, Carefully
- Know When to Stop
- Make the Upgrades Last
- Final Thoughts
Start by Finding the Weakest Part
Lay the costume out and look at it honestly. Which part looks the cheapest? It might be a shiny fabric, a droopy hat, a flimsy belt, or a prop that looks like a toy. Upgrading the one or two weakest elements usually makes a bigger difference than adding a little to everything. A costume with one great accessory looks intentional, while a costume with a lot of small additions can look cluttered.
It also helps to decide on one focal point, such as the hat, the cape, or the prop, and put most of your effort and money there.
Fix the Fit First
Fit does more to improve how a costume looks than almost anything else. Packaged costumes are cut generically, so they often hang loose or sit awkwardly. A few simple adjustments help a great deal. Hem a dress or robe with fabric tape or safety pins on the inside so it falls at a flattering length. Take in a baggy seam with a few quick stitches or fabric tape. Use a belt or a sash to define the waist.
Make sure you can move comfortably, too. A costume that’s the right size but tight in the wrong places will feel miserable by the second hour. For kids’ costumes, it’s worth checking that nothing drags on the floor or restricts vision, and our costume safety checklist covers these points in more detail.
Steam Away the Packaged Look
Costumes that have been folded in a bag for months arrive with sharp creases that make them look cheap. A handheld steamer, or even a hot shower’s steam in a closed bathroom, will relax most wrinkles. If the label allows ironing, use a low heat setting with a cloth between the iron and the fabric, since many costume fabrics melt easily. This one step costs almost nothing and instantly makes the costume look better.
Add Texture With Trim and Details
Flat, shiny fabric is what makes many store-bought costumes look inexpensive. Adding contrast and texture breaks that up. Ribbon, lace, braid, or fabric trim sewn or glued along an edge adds depth and a custom feel. Felt cut into shapes can become emblems, buttons, or decorative panels. A technique like appliqué, which means attaching fabric shapes to a base fabric, is a simple way to add details that look handmade.
Fabric glue or hot glue handles most of this without sewing. Keep decorations secure and avoid anything small or loose that could come off, especially on costumes for young children.
Swap Cheap Accessories for Real Ones
The accessories that come in the package are usually the least convincing part. Replacing them with real items makes a surprising difference. A thrifted belt, boots, a hat, a pair of gloves, or a jacket from your own closet can look far more authentic than the plastic version in the bag. Thrift stores and friends’ closets are excellent sources of inexpensive, real-looking pieces.
If you’re looking for more ideas on using things you already have, our list of DIY costume ideas using things you already own is a good place to start.
Upgrade the Prop
A prop can make or break a costume. If the included prop looks like a toy, consider improving it. A coat of matte paint can take the shine off plastic, and wrapping a handle in leather-look tape or cord adds grip and a more realistic feel. Foam props can be repainted with acrylic paint for a more detailed finish. Keep props lightweight and rounded, with no sharp edges, and make sure they’re safe to carry through a crowd.
Use Makeup, Hair, and Footwear
Costume details above the neck and below the knee are often overlooked, yet they finish the look. A little makeup or face paint can turn a basic outfit into a character. A wig or a hairstyle that matches the costume makes it feel complete. Even choosing the right shoes, rather than whatever sneakers are by the door, pulls the whole outfit together.
If anyone wearing makeup has sensitive skin, take a look at our guide on costume makeup tips for sensitive skin before choosing products.
Add Light, Carefully
Battery-powered LED lights and glow sticks can make a costume stand out and also help you be seen after dark. Choose lights designed for clothing and costumes, and keep batteries securely enclosed and out of reach of small children. Avoid any open flames near costume fabric, which can ignite easily.
Know When to Stop
It’s easy to keep adding until the costume looks overloaded. A good rule is to make a few meaningful upgrades rather than many tiny ones, then step back and look at the whole thing. If you can see the focal point clearly and the costume reads as one idea, it’s done. Spending a little more on one standout piece usually beats spreading the same money thinly across many items.
If the budget is tight overall, our guide on styling a Halloween costume for kids on a budget offers more ways to stretch a small spend.
Make the Upgrades Last
If you’ve put in some effort, it’s worth making the costume last. Check any glued or pinned parts before you head out, bring a few spare safety pins, and store the costume carefully afterward. Our tips on making a costume last through multiple parties and our guide to storing costume accessories without damage will help you keep everything in shape for next year. For general background on how costumes are designed and why details matter, this overview of costume is worth a skim.
Final Thoughts
A store-bought costume is a starting point, not a finished product. Fix the fit, steam out the creases, replace the weakest accessory with something real, and add a bit of texture or a better prop. These small, inexpensive changes can make a basic costume look thoughtful and personal, without a big budget or any special skills.